How to Keep Your Windows in Top Shape? Simple DIY Repairs and Maintenance
Most people stop thinking about their windows after installing them. As long as the glass stays clear and they open without a fight, we forget that they need care, too. However, dust, moisture, and daily use can wear them down over time. Eventually, problems like drafts, leaks, and squeaks start to show up. While some of these fixes need a professional, you can handle many small issues with some DIY.
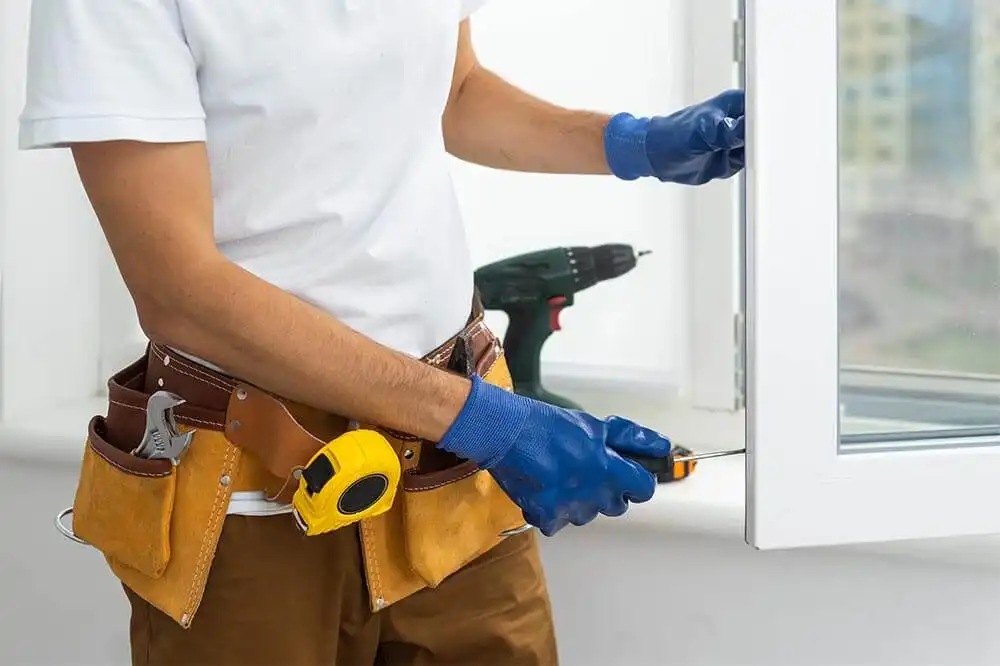
Proper window maintenance can help you keep things in shape, save money, and avoid bigger issues down the line. With a few tools and a bit of attention, your windows can stay strong, clean, and fully functional year-round.
What’s Your Window Problem?
Windows tend to show warning signs when something’s not right. Here are a few common problems that may require window maintenance, and what causes them:
- Drafts: Air leaks through small gaps in the frame or worn-out seals. These leaks affect comfort and increase energy bills.
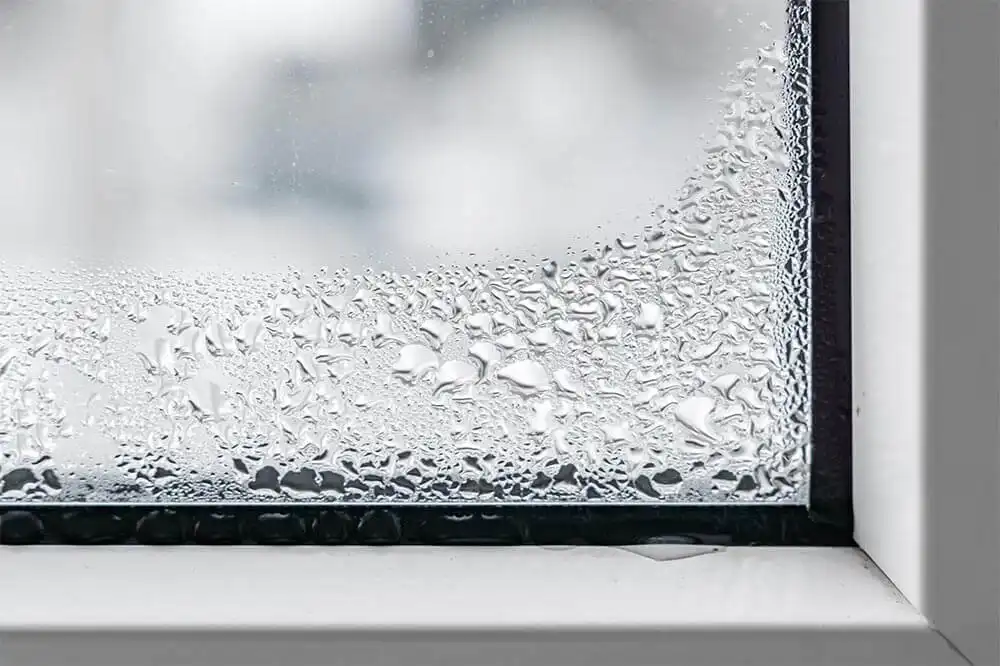
- Foggy Glass: Moisture between the panes means the sealed unit has failed. Once the seal breaks, the window loses its insulation.
- Sticking or Hard-to-Open: Dirt builds up in the tracks, or the frame shifts over time. This creates friction and makes movement harder.
- Squeaking: Lack of lubrication causes metal parts to rub. It often starts with a squeak and ends with damage if ignored.
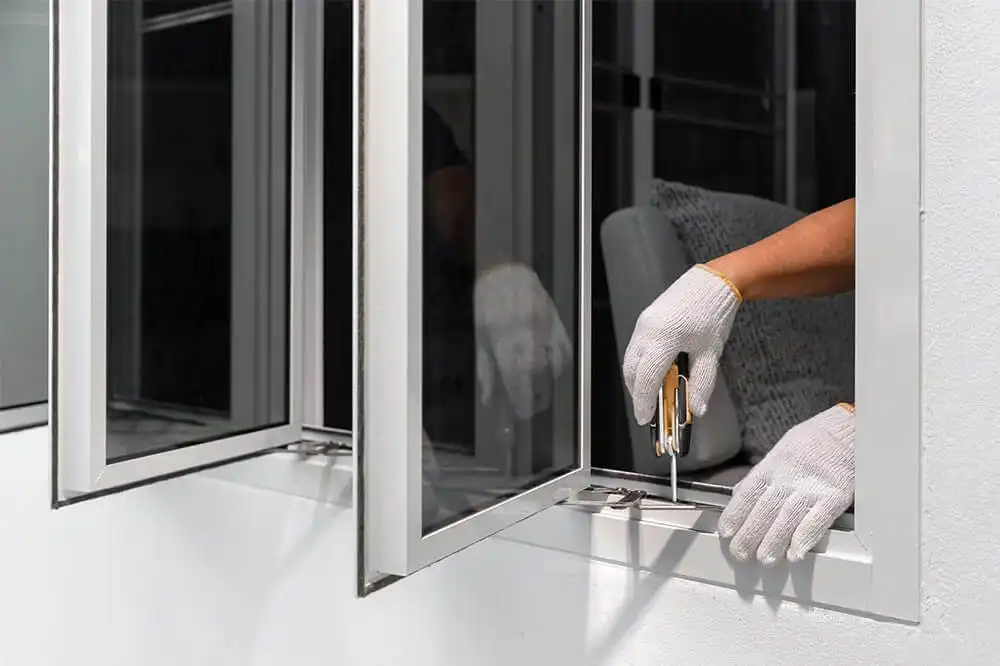
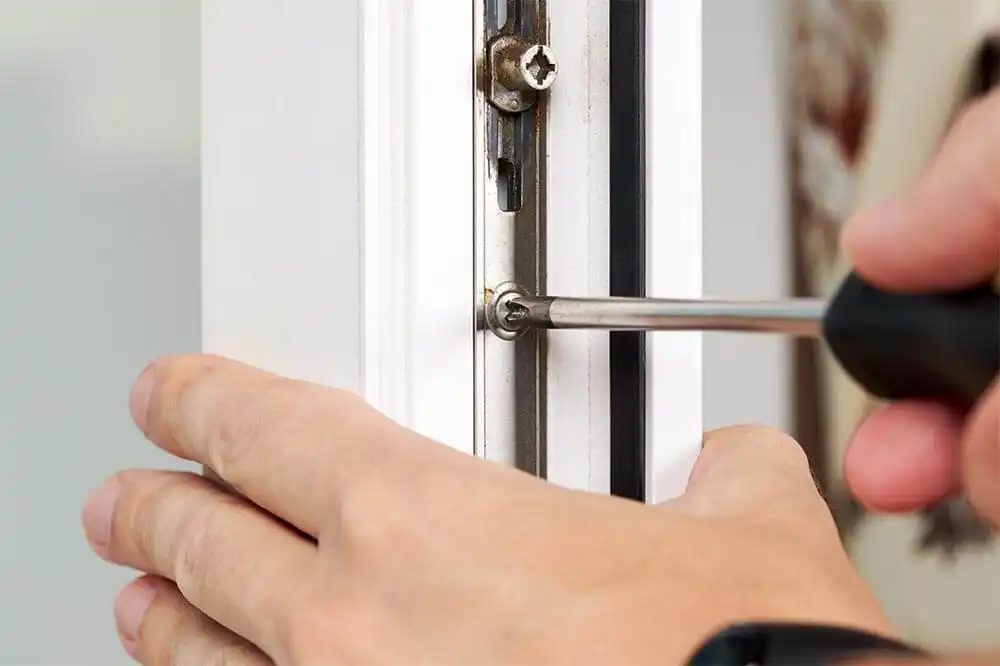
- Loose Handles or Locks: Screws loosen from frequent use. This can affect security and make it harder to close the window properly.
Essential Tools for DIY Window Maintenance
Before starting any kind of window maintenance, make sure you have the right tools. You don’t need anything fancy; just a few essentials to help you complete the task safely and properly. Here’s what to keep in your toolbox:
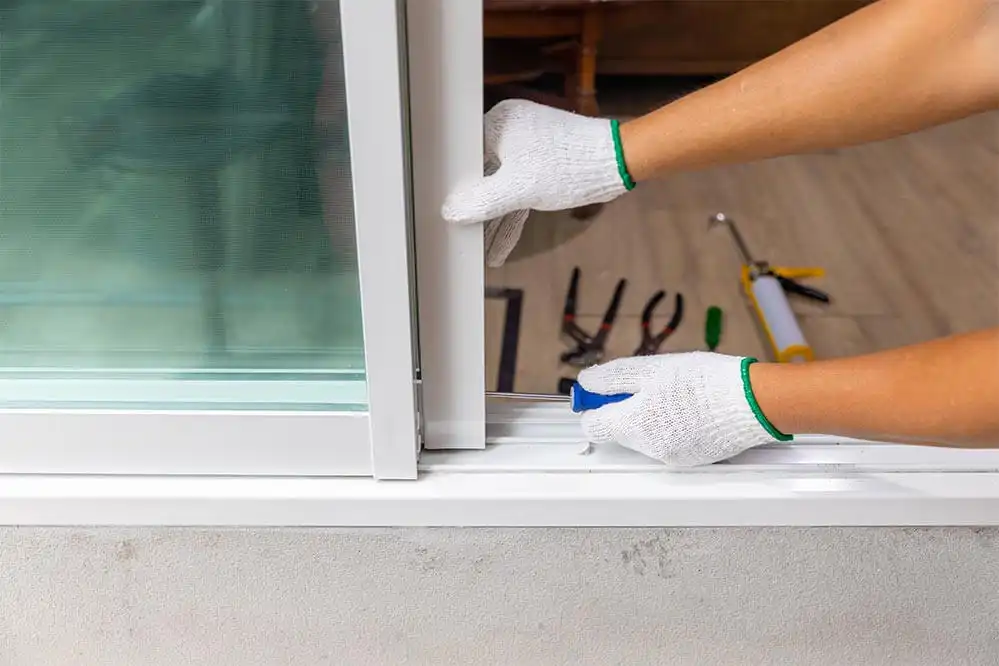
- Screwdrivers: Use them to tighten loose handles, locks, and hinges. Both flathead and Phillips types come in handy.
- Caulking Gun: Helps you apply sealant cleanly around frames. It works well for sealing gaps to block out air or moisture.
- Putty Knife: Great for scraping off old sealant or applying filler. It also works for smoothing surfaces before resealing.
- Lubricants: Use silicone spray or light oil to loosen stuck tracks or squeaky hinges. These help with simple DIY window repair tasks.
- Window Cleaning Supplies: A soft cloth, squeegee, and mild glass cleaner help you keep the glass clear and streak-free.
- Weatherstripping Material: This seals small gaps around the frame to stop drafts and improve your home’s energy efficiency.
- Safety Gloves and Goggles: These protect your hands and eyes while scraping, sealing, or working with sharp edges and tools.
Moreover, you can visit our related window blog on window replacement to learn more- Comparison Guide: Replacement Windows VS New Construction
Common DIY Window Maintenance Tasks
You don’t need to overhaul your windows to keep them in good shape. Just a few basic tasks, done regularly, can go a long way. Each one takes only a short time but plays a key role in overall window maintenance. With the right tools and some consistency, you can avoid many common issues before they start.
1. Cleaning Windows
Windows quietly collect dust, grime, and streaks. Over time, that buildup can affect the frame, wear down seals, and even block natural light. Regular cleaning keeps your windows working well and looking sharp. It’s a small task that makes a noticeable difference in your space.
- Step 1: Start by removing surface dirt from the frame, sill, and corners. Use a soft cloth, handheld vacuum, or brush to get into tight spots.
- Step 2: Next, spray the glass with a mild cleaner or a mix of vinegar and water. Wipe the surface using a lint-free cloth or sponge.
- Step 3: Finally, use a squeegee to remove any moisture. Always work from top to bottom to avoid streaks and missed spots.
2. Sealing Gaps and Cracks
Small air leaks can cause major comfort issues. Cold air gets in, warm air escapes, and your energy bills go up. You’ll feel it the most during winter. The good news is you can often seal these spots yourself. With a little care, you can reduce heat loss and keep things comfortable inside.
- Step 1: Begin by checking around the window frame, especially at the corners. Use your hand or a lit incense stick to feel or see air movement.
- Step 2: After you find the leaks, remove any old or cracked caulk. Use a putty knife to clear the area so the new sealant will stick.
- Step 3: Apply fresh caulk using a steady hand and smooth it with a finger or tool. Let it dry fully before closing the window.
3. Lubricating Tracks and Hinges
Sticky windows and squeaky hinges usually mean the moving parts need a little care. Dry tracks or metal rubbing against metal can cause resistance, and over time, that puts pressure on the frame or seal. A small amount of lubricant goes a long way in keeping things smooth.
- Step 1: Start by opening the window fully. Wipe down the track and hinge areas with a soft cloth. Remove dust, old grease, or anything built up along the edges. Focus on corners and tight spots where grime collects.
- Step 2: Shake the can well and spray the moving parts with a fine coat of lubricant. Do not overspray since this will encourage dirt.
- Step 3: Move the window back and forth a few times. This helps the product spread evenly and shows if it solved the issue.
4. Inspecting the Frame
Different materials need different care. Check the frame often to catch problems early. You don’t need special skills. Just a careful look once in a while helps extend the life of your windows and supports your window maintenance efforts.
- Aluminum Frames: Look for signs of rust, dents, or dull finish. Clean them with a soft cloth and mild soap. Regular care prevents wear and supports good aluminum window care.
- UPVC Frames: Check for cracks, yellowing, or loose seals. Wipe them down with a non-abrasive cleaner to maintain their look. Basic UPVC window maintenance keeps them strong and weatherproof.
- Wooden Frames: Look for peeling paint, soft spots, or mold. Sand any rough areas and repaint when needed. Make sure they stay sealed to avoid moisture damage.
Troubleshooting Common Window Problems
Even with regular window maintenance, problems still pop up from time to time. Some are easy to ignore until they become more serious. The good news is you can often fix the most common issues yourself using basic tools and safe methods. Below are some quick and effective ways to fix window problems on your own.
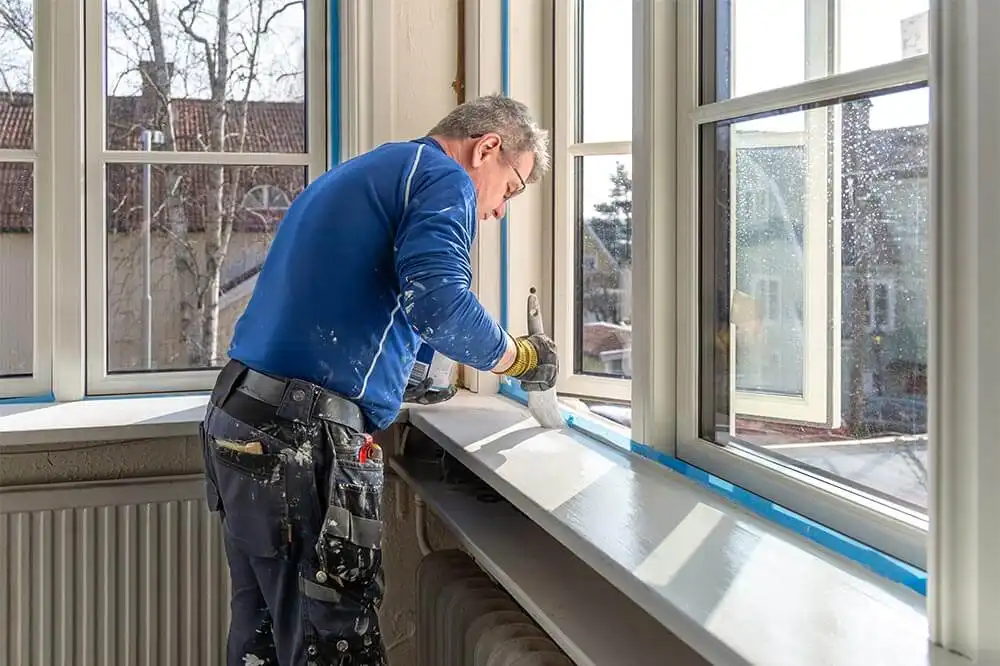
1. Drafty Windows
Drafts make rooms uncomfortable and raise your energy bills. They often happen when seals break down, frames shift, or old caulk dries out. The key is to act early and seal the gaps before the problem spreads.
- Step 1: Inspect the window edges using your hand or a tissue. Move it around the frame to feel any air coming through.
- Step 2: Once you spot the leak, clean the area. Remove old caulk, dust, or loose debris to prepare the surface.
- Step 3: Apply fresh caulk or install weatherstripping where needed. Press it firmly and give it time to dry before using the window again.
2. Foggy Windows
These windows often show up when the seal between the glass panes fails. Once that happens, moisture slips inside and builds up over time. This trapped moisture blocks your view and affects insulation.
You can’t fix the seal without replacing the glass unit, so wiping the outside won’t solve the real issue. Still, regular cleaning helps reduce the haze on the outer surface until you’re ready for a full repair or replacement.
3. Sticking Windows
When a window refuses to budge, it usually comes down to two things: built-up grime or dry parts that need attention. This kind of drag puts extra stress on the frame and can make daily use frustrating. Luckily, you don’t need to replace anything. A quick cleanup usually gets it working again.
- Step 1: Push the window open as far as it goes. Use a soft brush or dry cloth to sweep out dirt from the tracks. A handheld vacuum works well, too. Don’t forget the corners where buildup tends to hide.
- Step 2: Grab a silicone-based spray. Apply a light coat inside the track, focusing on tight areas. Use a cloth to catch any drips. Keep the spray light so it doesn’t attract more dirt.
- Step 3: Slide the window open and shut several times. This helps spread the lubricant and clears out any leftover grime. If it’s still sticking, repeat once more until the motion feels smooth.
4. Broken Window Glass
Cracks in window glass can’t wait around. Whether it’s from weather, kids playing too hard, or just age, broken glass creates risks. It weakens insulation, lets in moisture, and can even be dangerous. If you’re confident with simple tools, you can do a safe replacement on your own.
- Step 1: Put on gloves and safety glasses before you do anything else. Carefully lift out the loose glass, starting at the edges. Wrap up the broken pieces and place them in a box or a thick bag for disposal.
- Step 2: Get a putty knife and peel off the old glazing or sealant. Do this slowly, going around the frame until the surface is tidy and smooth.
- Step 3: Now, carefully place the new glass into the frame so it’s steady; apply fresh sealant or putty, just like before, around its edges. Push it in gently but firmly.
- Step 4: Let the sealant dry fully before touching anything. Once it’s set, wipe away smudges or fingerprints with a soft cloth. Finally, give the window a light push to make sure it feels solid and properly sealed.
Safety Tips for DIY Window Projects
Window maintenance might seem simple, but safety still comes first. You’re dealing with glass, tools, and sometimes heights, so it’s important to stay alert. Before you start any DIY window repair, take a few extra steps to keep yourself safe.
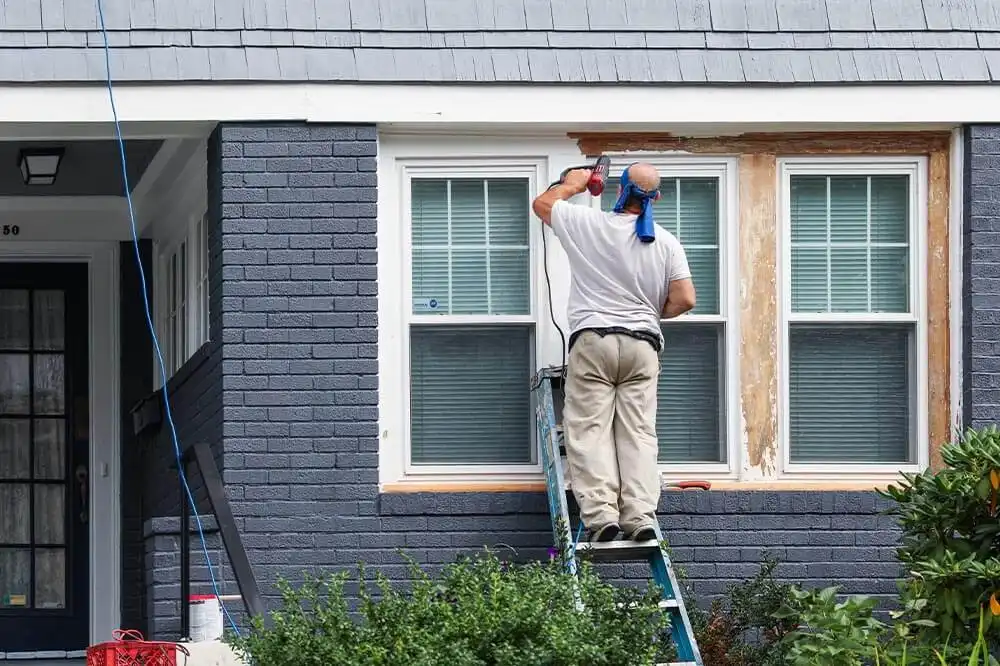
- Use Protective Gear: Always wear gloves when handling sharp tools or glass. Safety glasses help protect your eyes while scraping old sealant or removing broken panes.
- Be Cautious with Ladders: If you’re cleaning or repairing upper-floor windows, check that your ladder is fully secure before climbing. Keep it on flat ground and don’t stretch too far while working.
- Turn Off the Power: If your window has nearby outlets, switches, or security sensors, turn off the power before you begin. It reduces the risk of shocks, especially if you’re using metal tools.
Staying safe helps you focus on the job and avoid accidents while fixing window problems around your home.
Final Thoughts
Basic window maintenance doesn’t take much time, but it makes a real difference. By cleaning, sealing, and checking your windows regularly, you keep them working well and avoid costly repairs later. Most small tasks, like DIY window repair or lubricating tracks, are easy to do and help extend the life of your windows.
Still, some issues go beyond what a cloth and screwdriver can fix. If you're dealing with serious damage or want expert support for aluminum window care or UPVC window maintenance, it's best to bring in professionals who do it right.
WANJIA Window & Door builds and installs high-performance aluminum and UPVC windows for homes across the globe. If you're ready to stop fixing window problems and start upgrading, we’re here to help. Get in touch with us to learn more or request a quote.
Read on to find out more: Aluminum vs Vinyl Windows: Which is Right For You?
