How to Accurately Measure for Bifold Glass Doors (Step-by-Step Guide)
Measuring the bifold glass doors might not seem like rocket science. And we’ll be honest, it isn’t. But that doesn’t mean it’s something you can rush through or take lightly. A small measuring error now can turn into a big headache later. Doors that don’t shut properly, uneven gaps, or panels that scrape the floor usually trace back to one thing: bad measurements.
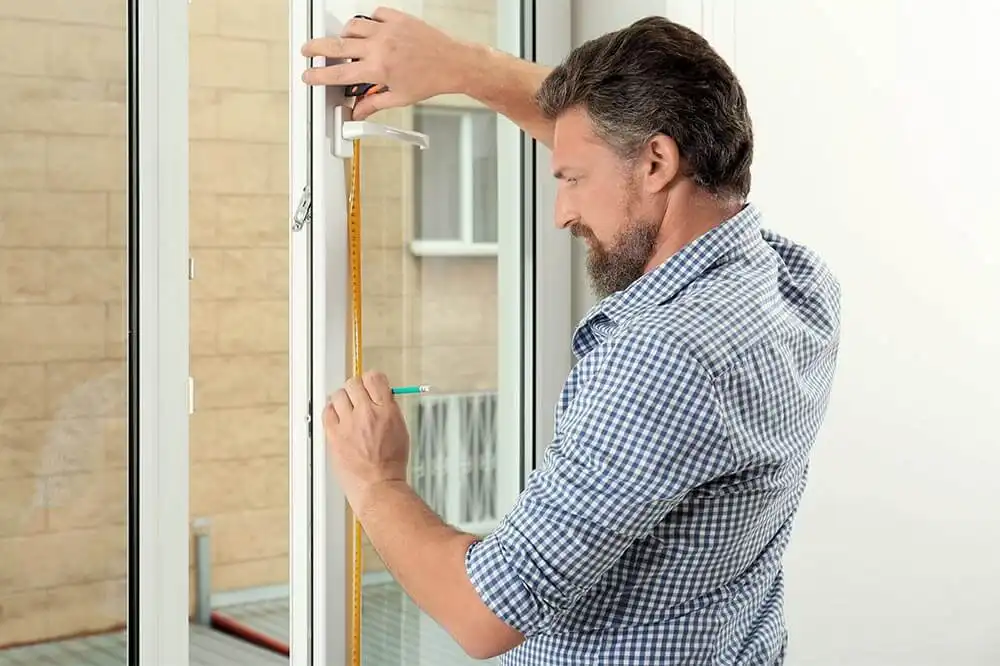
The good news is that you don’t need special tools or professional experience to measure for bifold doors. You need some care, the proper steps, and a few basic tools. Most of the time, problems show up because people skip a step, guess the numbers, or rely on the size of the old doors without checking the actual opening.
This guide walks you through the right way to get accurate results. We’ll show you how to avoid common mistakes, measure every part of the door opening, and what to watch out for before placing your order. You can get perfect bifold door measurements every time with the right methods.
Prepare The Tools You Use Before Starting
Before you start taking any numbers, set yourself up for success. Knowing how to measure a bifold glass door opening starts with having the right tools in hand. You don’t need anything special or high-tech, but you need a few essentials to keep your measurements clean and accurate.
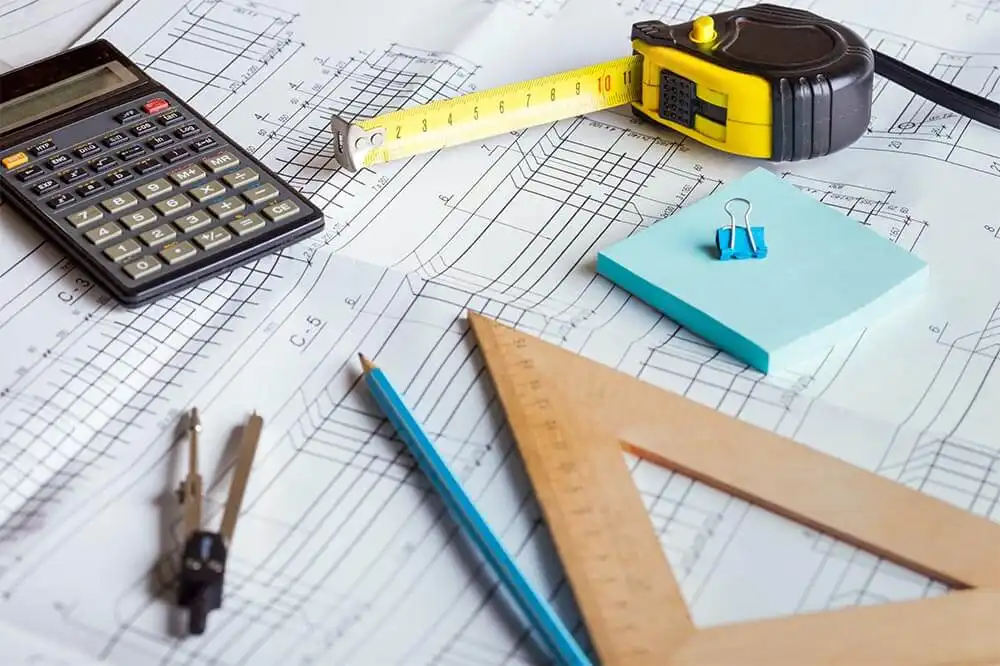
Grab these simple items before you begin:
- Tape measure: This one does most of the work. Choose one that locks in place and gives clear readings in millimeters and inches.
- Spirit level: It tells you if your opening is straight. If the frame leans or sags, your doors might not line up later.
- Notepad or measurement form: Always write your numbers down as you go. Don’t rely on memory, even for a few seconds.
- Pencil: Mark measurements directly on the wall or frame if needed. Erase easily and keep your notes clear.
- Ladder: If you’re working with a tall door opening, get some height to take proper top measurements. Don’t stretch or guess.
- Laser measurement (optional): If you do want to go a little high-tech, this tool adds extra precision. It can be especially helpful for wider spaces. Handy, but not a must.
How to Measure for Bifold Glass Doors
You don’t want to stop halfway because something’s missing. Check this list before you begin. The right tools help you measure correctly the first time and avoid issues later.
Now that you’ve gathered your tools, it’s time to measure for folding glass doors. This part doesn’t take long but requires you to pay close attention. These numbers will decide whether your new doors open smoothly or leave you dealing with returns and rework. Follow each step carefully, and don’t rush through it.
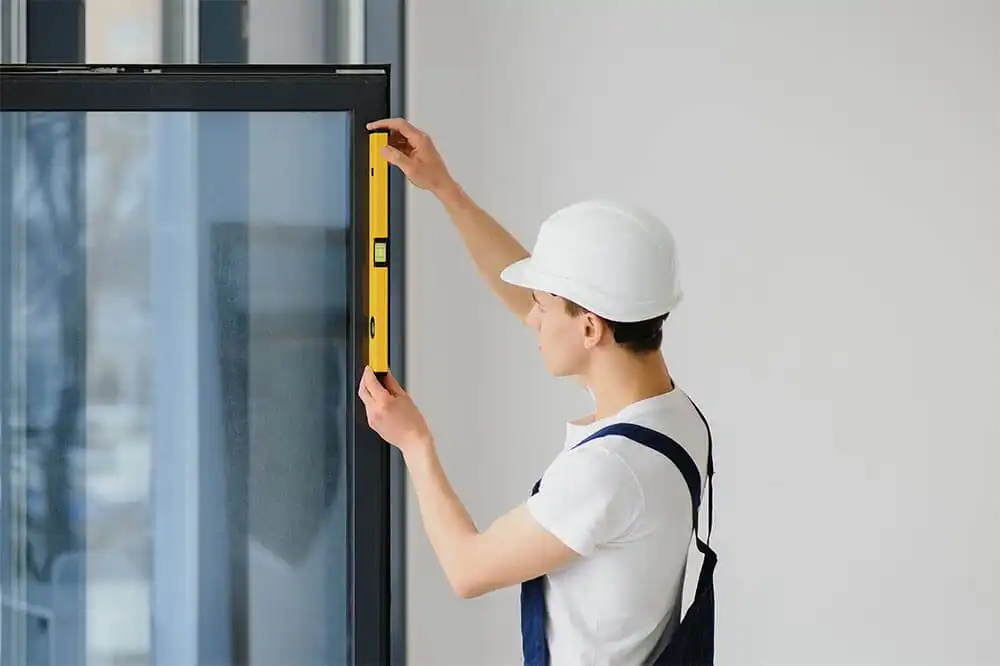
You’ll focus on four things: width, height, depth, and squareness. Each one matters. When you combine them, you get accurate bifold door measurements that match your opening and help you choose the right size. Here’s how to measure a bifold glass door opening the right way.
If you want to know more about how to assess and replace your doors, please go to view related blog: Everything You Need to Know About Door Replacement.
Step 1: Measure the Door Width
First, gauge the opening width in these three places: at the top, in the middle, and at the bottom of the door. Use your tape measure and write down each number. Don’t round up or estimate. Record the exact figures.
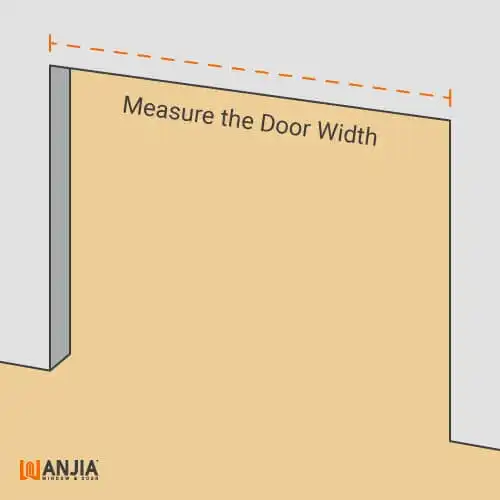
Next, look at the three numbers. One will likely be smaller than the rest. Always use the smallest measurement when choosing your door size. This helps avoid a tight fit or a door that rubs against the frame.
Then, double-check your work. Re-measure at each spot to make sure you didn’t miss anything. Accurate width matters, especially when working with standard bifold door sizes.
Step 2: Measure the Door Height
Move on to the height. Take measurement on the left side, the center, and the right side of the opening. Just like before, use the shortest measurement as your final number.
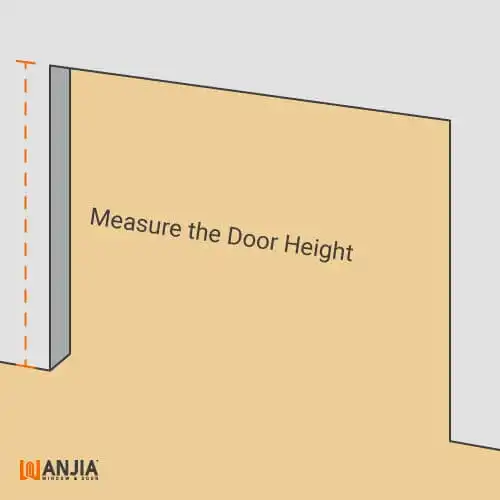
Check the floor carefully. Floors aren’t always level, and that can throw off your measurements. You might notice a slight slope. That’s exactly why we take three height readings.
Again, double-check all three spots before moving forward. This helps you avoid a door that feels too tall on one side.
Step 3: Check the Door Depth (Recessed or Surface-Fit)
Now check the depth of your door opening. This tells you how much space you have for the track and frame. Use your tape measure and note the distance from the front edge of the opening to the back wall or surface.
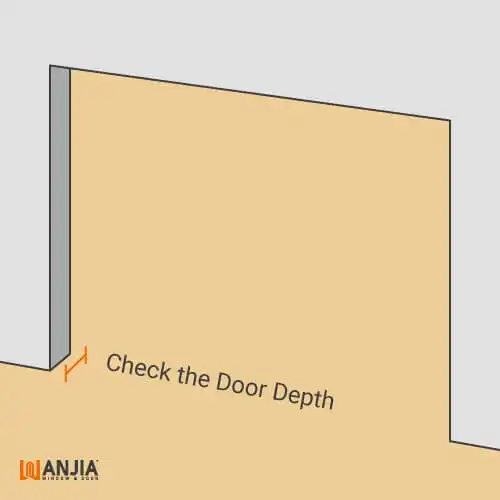
If replacing an old door, look at how the current frame sits. Some doors sit deeper into the opening. Others rest right at the edge. Compare that setup with the measurements required by your new hardware. Depending on the system, most bifold doors need a minimum depth of 70 to 100 millimeters.
Write down the depth clearly. If the opening feels too shallow, you still have options. You might install a surface-mounted track or choose a thinner door profile that fits better.
Step 4: Measure the Diagonals (Check for Squareness)
Finally, check if your door opening is square. Measure diagonally from top left to bottom right. Then do the same from top right to bottom left.
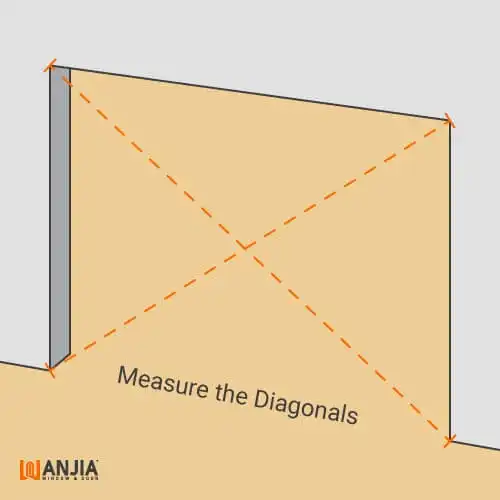
If both measurements match or are within 2 to 3 millimeters, you’re good. When the numbers are off by more than that, don’t worry. You can still install the bifold doors. However, there are a few changes that you have to make. Here is what to do with an imperfectly square frame:
- Shims: Put small shims behind the track or frame. This assists in correcting the angles and balancing the door.
- Trim the frame: If working with wood, gently sand or trim one edge to level things out.
- Go with a slightly smaller door size: When you measure for the glass bifold doors in older homes or uneven spaces, ordering a slightly smaller door can help avoid rubbing or sticking.
- Use flexible sealant or trim: This covers minor gaps and keeps the finish neat without affecting function.
Always write your diagonal measurements next to the others. That way, when it’s time to install, you’ll know what to expect and how to work around it. A few small adjustments now can save you a lot of effort later.
Once you finish these four steps, you’ll have a full set of bifold door measurements. These will guide you toward choosing the right size, shape, and style without second-guessing. Always measure twice and write everything down. That way, you can order with confidence and skip the stress.
Common Mistakes to Avoid
Even if you measure for bifold doors carefully, a few easy-to-miss habits can still throw things off. These small errors often lead to poor fits, delays, and extra costs. The good news? You can avoid all of them with just a little extra attention.
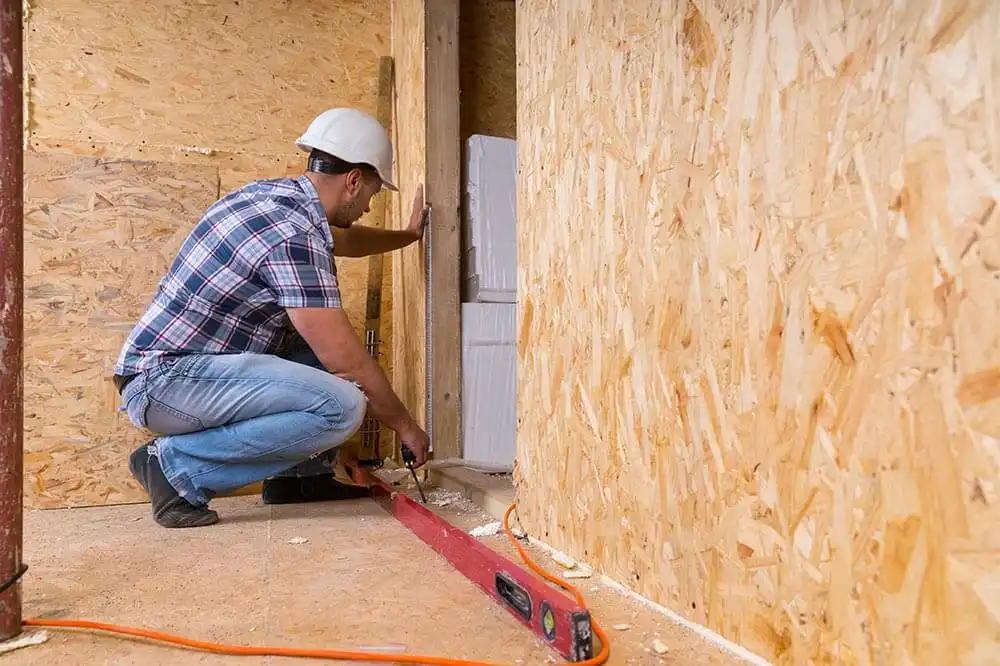
Here are the mistakes people make most often when taking bifold door measurements:
- Relying on only one measurement: Never measure once and move on. Always measure in three places for both width and height. Openings aren’t always even, so you need to use the smallest number. This helps ensure the door will fit from top to bottom.
- Not checking for squareness: Many skip the diagonal check. That’s a mistake. If the opening is not square, your doors may not line up right or open smoothly. Always measure from corner to corner both ways. This step matters just as much as width and height.
- Forgetting to allow clearance: Even when you measure for bifold doors correctly, the doors still need room to move. Make sure you allow space at the top for the track and a few millimeters at the bottom so the panels don’t drag. Forgetting this often leads to stuck or noisy doors.
- Assuming the old doors were the right size: Don’t trust the size of the old doors. Openings shift over time, and past installations aren’t always perfect. Always go back to the basics and recheck everything. Focus on how to measure a door opening correctly instead of guessing based on what was there before.
Avoiding these mistakes will help you get more accurate measurements and choose the right setup. Some openings match standard bifold door sizes, and others need a custom option. Good planning leads to a better fit and a smoother install.
Final Thoughts
Taking the time to measure for bifold doors properly makes all the difference. It doesn’t take long, but it can save you from dealing with costly mistakes later. Always check the width, height, depth, and diagonal lines. Write everything down, double-check your numbers, and don’t rely on the size of your old doors.
Standard bifold door sizes work for many homes, but not every opening is the same. A custom size may be the better choice if your frame is a little wider, taller, or slightly out of square. That’s why working with a trusted supplier that can handle both standard and custom options is important.
WANJIA offers a wide range of bifold doors built to match different spaces and styles. Whether you need a clean, modern look for your patio or want something tailored to fit a tricky frame, their product selection gives you the flexibility to get it right.
If you want to explore your options, you can view WANJIA product specs, learn more about sizing, and reach out to their team with any questions.
Continue to read other bifold door articles:
